
There is no better way to save money and add a personal touch to your DIY gardening tools than by making your own. Creating tools that fit your requirements is a simple process that can be accomplished with the correct materials and instructions.
This article will present step-by-step guidance for each of the top 10 DIY gardening tools, a list of required supplies, full instructions, and valuable tips and tactics for successful DIY projects.
List of Materials Needed for Each Tool:
Before diving into the lessons, ensure you have everything you need for each tool. Doing so guarantees you are well-prepared to do the assignment without delay. Here are a few items that you could need:
- Containers, bottles, and cans made of recycled materials
- A drill, pliers, and essential equipment
- It can be made of wood or PVC
- Screws, glue, and nails
- Compost, seeds, and soil for a garden
- All-natural weed killer or insect repellant components – Optional painting supplies
Comprehensive Guide with Visual Aids:
In DIY tasks, visual aids may be beneficial for following directions. Because of this, we advise using visual aids like photographs or movies to help you along the way.
Plenty of gardening books and online resources help you learn the ropes, or you can create your own video or picture instructions.
Tips and Tricks for Successful DIY Projects:
While working in the garden with your own DIY gardening tools is sometimes a gratifying and entertaining experience, it may often be tricky. To guarantee the success of your efforts, remember these suggestions and tricks:
- Begin with easy tasks and gradually increase their complexity.
- Make sure your tools last a long time using good-quality materials.
- Feel free to put your own spin on the tools and express your creativity.
- If you want perfect outcomes, you need to take your time and read the directions thoroughly.
- If you need assistance or advice, don’t hesitate to ask seasoned do-it-yourselfers or gardening professionals.
- Always prioritize safety, and be sure you use protective gear as needed.
Also Read: Top 10 DIY Gardening Tools – Techno Electrics
DIY Gardening Tools
Here are the detailed instructions for using each of the top ten DIY gardening tools.
1. DIY Compost Bin:
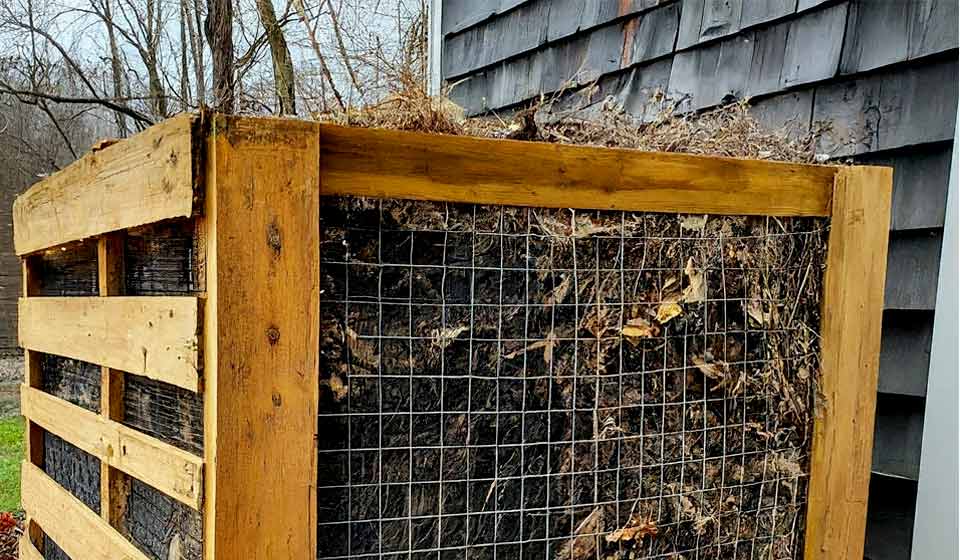
Garden soil, a plastic container or garbage can, a drill, bungee cords, bricks or wooden blocks, and whatever organic matter you find, such as leaves, grass clippings, and food leftovers.
Instructions:
- Make sure the container is airtight by drilling holes in its base and sides.
- Set the bin on bricks or wooden blocks to facilitate drainage.
- Put some garden soil in the bottom of the container.
- Spread the compost mixture evenly over the soil.
- Keep filling the container with soil and compost in alternate layers.
- Use bungee cords to secure the lid and prevent animals from getting in.
- Aerate and hasten decomposition by turning the compost every several weeks.
Just let your compost take a few months to mature, and it will be ready for use.
Also Read: Best 9 Self-Watering Tomato Planters
2. Self-Watering Planters:
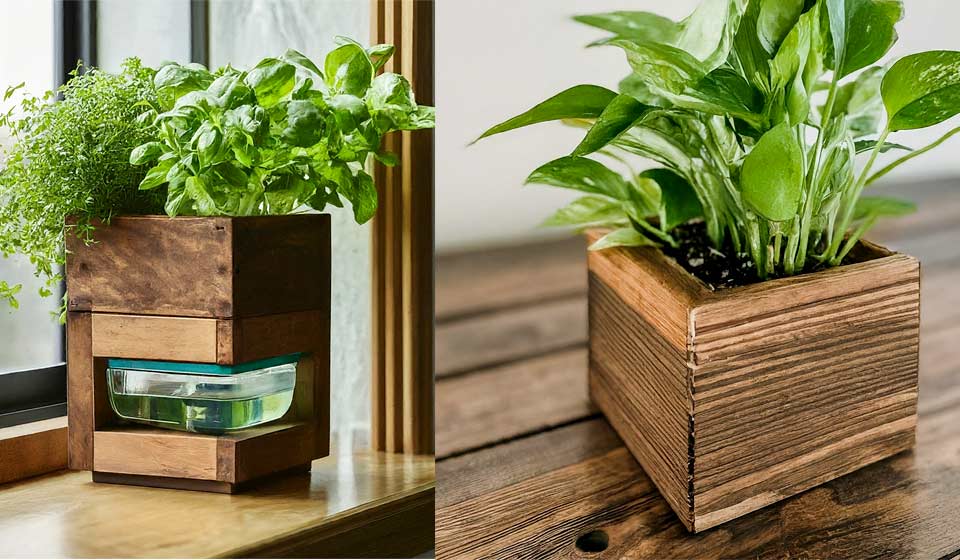
Requirements: Plants, potting soil, cotton rope, plastic containers, and a drill.
Instructions:
- Make a little hole in the bottom of the container using a drill.
- Make a length of cotton rope extending from the container’s base to its top.
- Make a knot to fasten the rope after threading one end through the hole.
- After filling it with potting soil, Plant your chosen plants into the container.
- Add water to the container until the rope is completely immersed.
- The rope will be used to wick water to the plants when they require it.
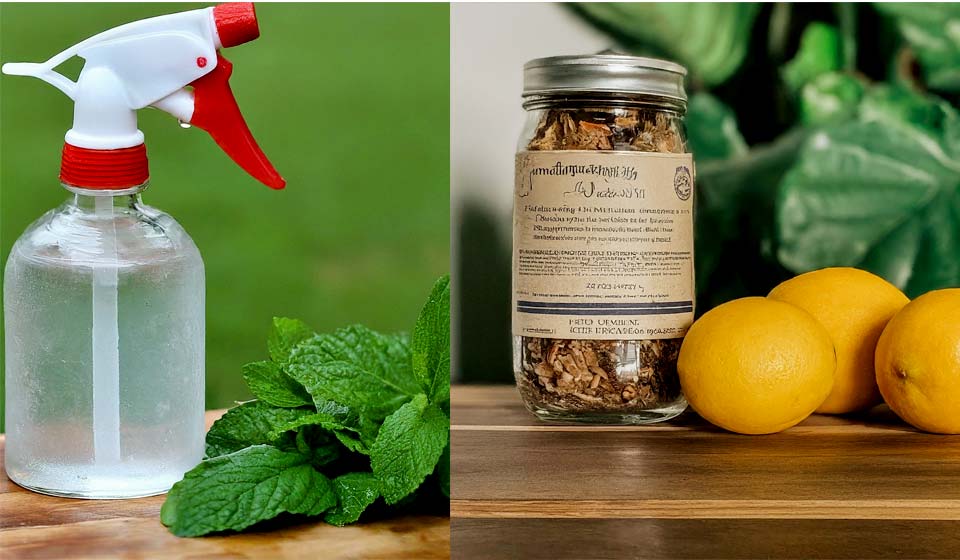
3. Homemade Weed Killer:
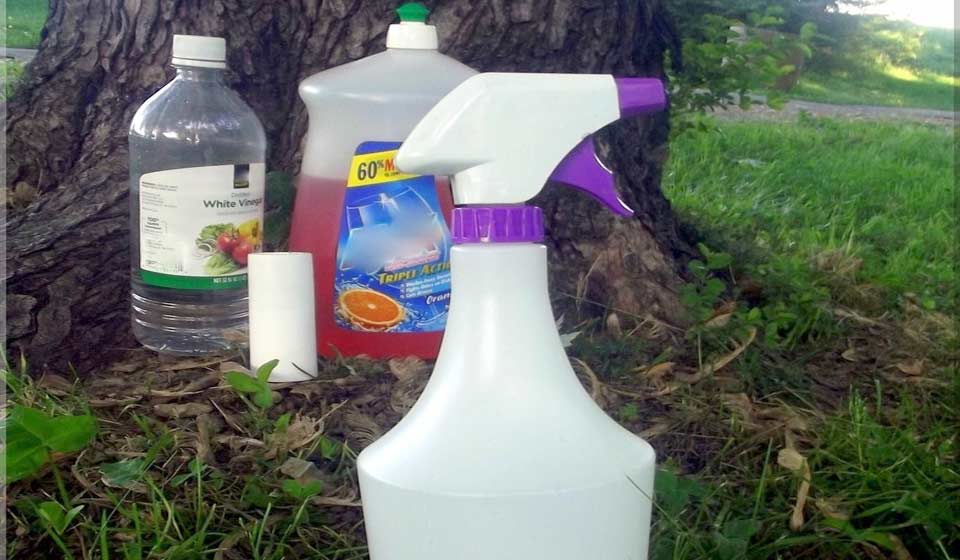
Things needed: a spray bottle, dish soap, and white vinegar
Instructions:
- Fill a spray bottle with white vinegar and water.
- Drizzle in some dish soap and give it a good shake.
- Weeds may be sprayed directly with the mixture.
- The vinegar’s acid will kill the weeds, and the soap will help the plants stay in the solution.
4. Upcycled Garden Markers:
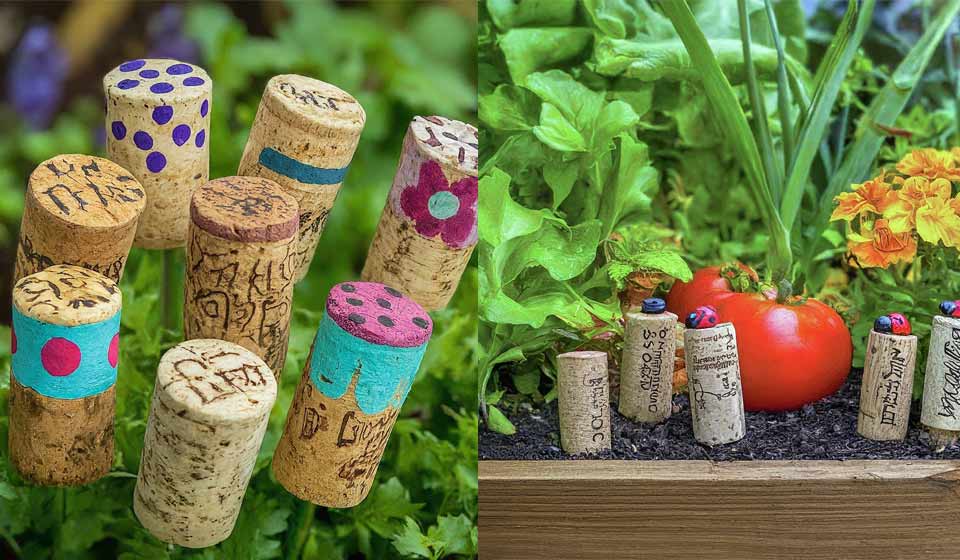
The following items are required: bamboo skewers, wine corks, and a permanent marker.
Instructions:
- Slice the bamboo skewers lengthwise into fourths or fifths of an inch.
- Use a permanent marker to write the plant’s name on the wine cork.
- Stick the remaining end of the skewer into the ground after inserting it into the cork.
- Put the markers in the plants that go with them so you can tell them apart.
Also Read: 15 Types of Trellis to Grow Cucumber at Home
5. DIY Trellis:
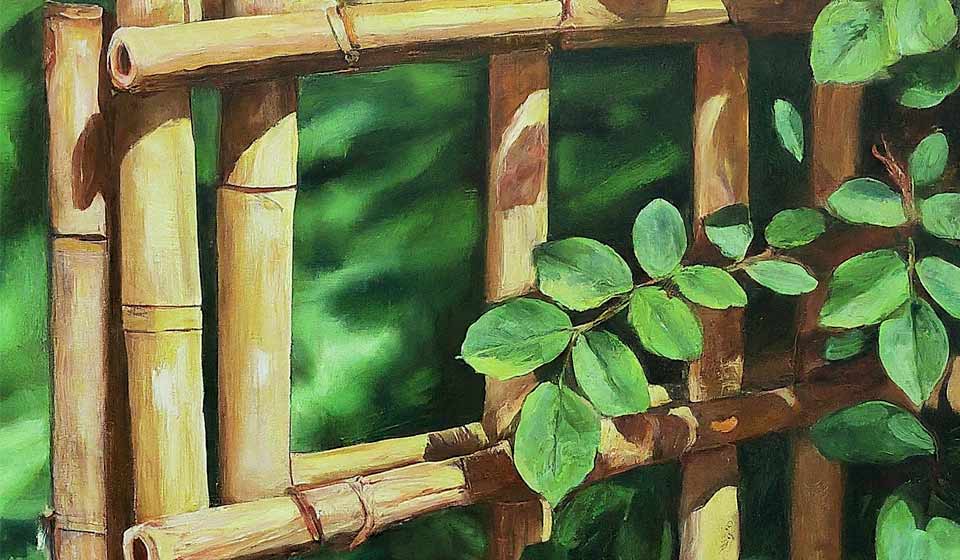
Tools: Drill, screws, twine, wire, and PVC or wood pipes
Instructions:
- Measure and cut the wood or PVC pipes to size.
- To build the frame, insert screws into the holes you drilled in the pipes.
- Make a grid design within the frame using wire or rope.
- Set up the trellis in your yard and train climbing plants to cling to it.
Also Read: Garden Trellis: A Guide to Support Climbing Plants
6. Garden Tool Organizer:
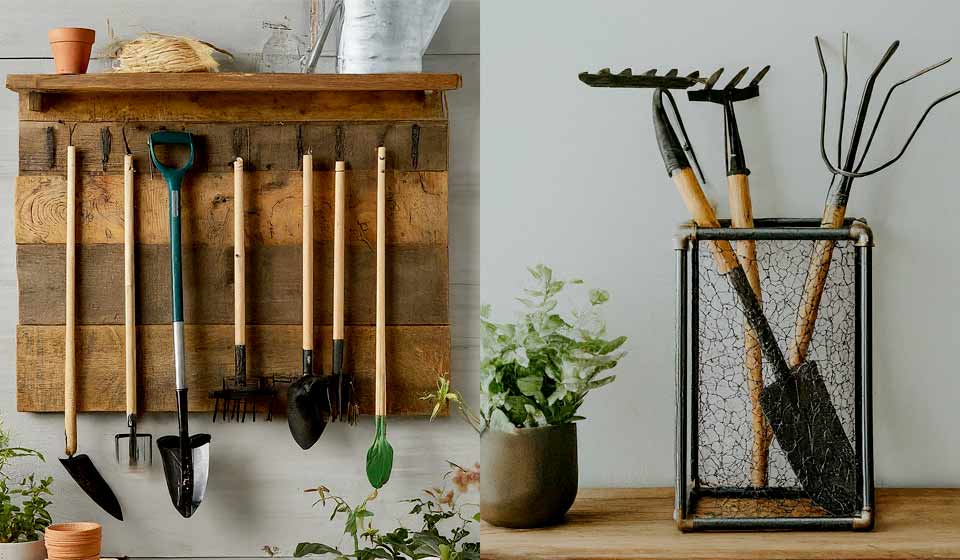
Tools required: a wooden pallet, nails, screws, a drill, and (optional) paint
Instructions:
- Prepare the wooden pallet by cleaning and sanding it.
- If you’d like, you may paint the palette.
- Make tool hooks by driving screws into the pallet.
- Position the pallet against a garden wall or fence to hang it in position.
- Use the hooks to organize your gardening supplies conveniently.
7. Homemade Pest Repellent:
Requirements: a spray bottle, water, cayenne pepper, dishwashing liquid, and garlic
Instructions:
- Mix a cup of water and a couple of garlic cloves.
- After straining, add a few drops of dish soap to the liquid.
- Add a teaspoon of cayenne pepper and mix well.
- Transfer the mixture to a spray bottle.
- Use the spray to protect plants from pests.
Also Read: How To Grow Cucumber In Pots At Home.
8. DIY Rain Barrel:
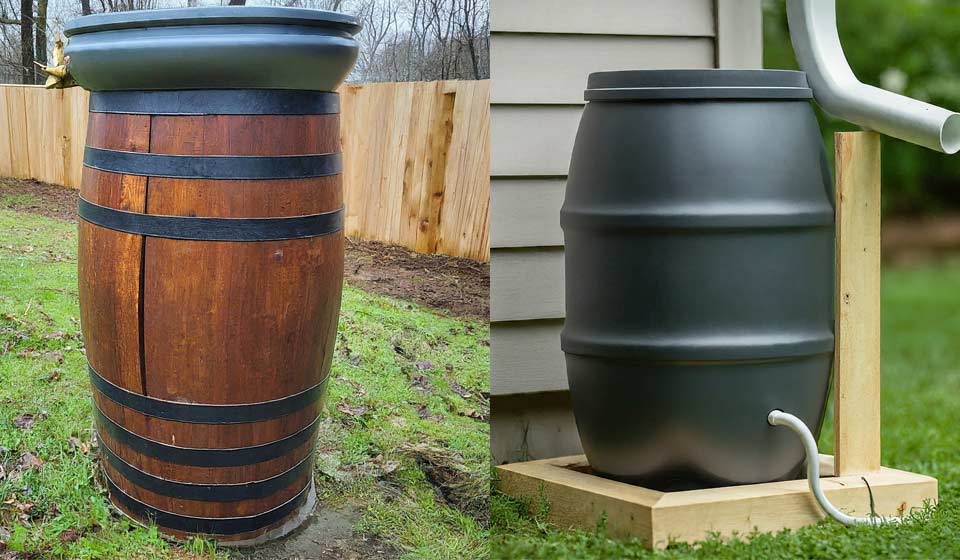
Supplies required: plastic container, fitting, drill, water line, and hose clamp
Instructions:
- Locate the base of the barrel and drill a hole to accommodate the fixture.
- Put the fixture in and clamp it down with a hose.
- Cut at the top of the barrel to accommodate the hose.
- Set the barrel under a downspout to catch rainwater.
- Put water in your yard with the hose.
9. Seedling Starter Pots:
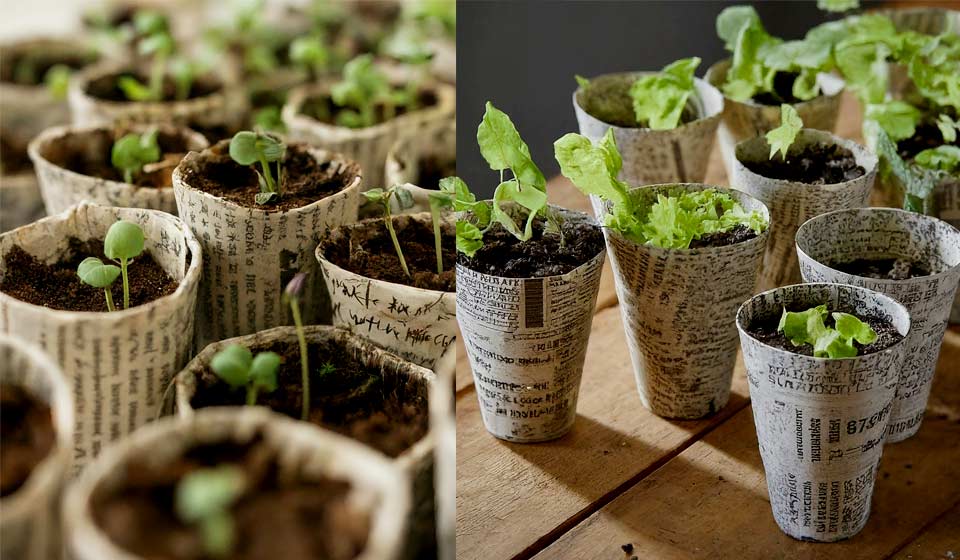
Things required: a newspaper, shears, dirt for planting, and seeds
Instructions:
- Square up a piece of newspaper.
- A triangle is formed by folding the square in half diagonally.
- With a few inches hanging off the bottom, roll the triangle around something cylindrical.
- Make a foundation for the pot by folding in the bottom flaps.
- When you’re ready to plant your seeds, fill the container with potting soil.
- When the seedlings are prepared, place the whole container into the soil.
Also Read: Multifaceted Benefits of Raised Bed Gardening
10. Homemade Bird Feeder:
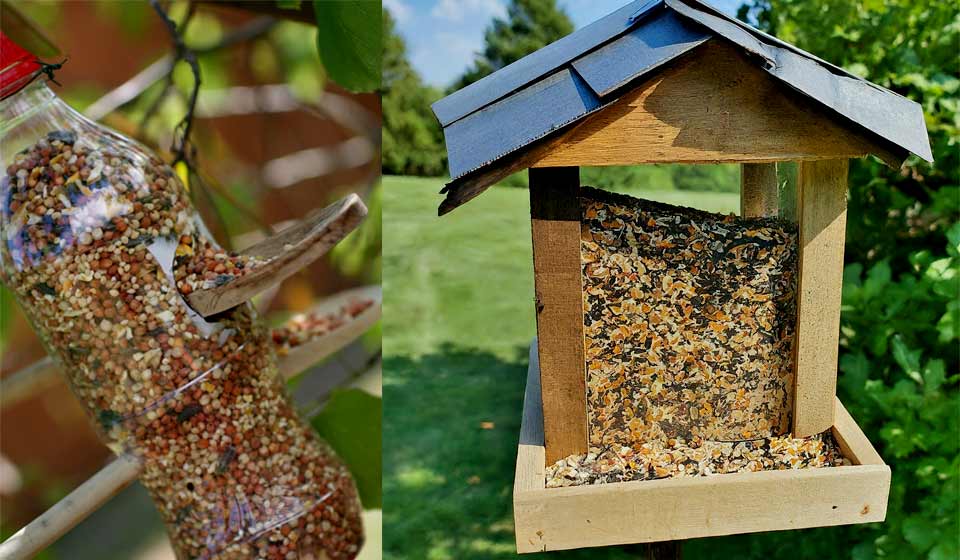
Birdseed, string, plastic bottles, wooden spoons
Instructions:
- First, locate the base of the bottle and cut a hole in it.
- Insert the wooden spoons through the hole to make perches for the birds.
- Third, thread a piece of string through a tiny hole cut close to the bottle’s top.
- Fourth, add birdseed to the bottle.
- Put the feeder in your yard and see what birds come and go.
Maintenance and Care for DIY Gardening Tools:
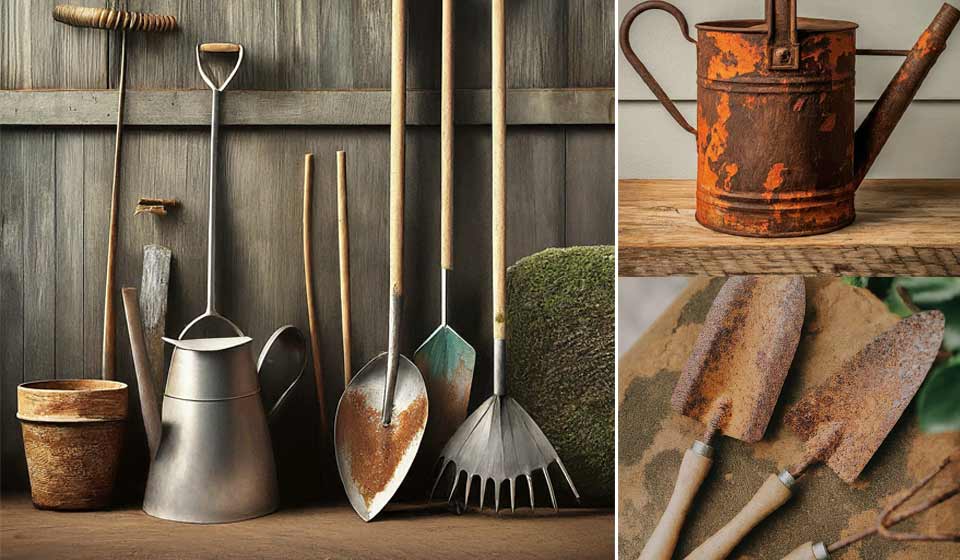
Taking good care of your do-it-yourself gardening equipment can extend their life. Some things to remember are:
- Prevent rust and accumulation by cleaning instruments after each use.
- Ensure that tools are kept in a dry and safe location.
- Maintaining sharp blades is essential for their longevity and performance.
- Fix or replace any broken tools.
- Always use correct safety measures when working with equipment.
Conclusion
DIY gardening tools encourage ingenuity and save money. By crafting your own gardening equipment, you can tailor it to your unique requirements.
We hope that the supplies list, detailed instructions, and useful hints in this chapter will be enough to give creating your own gardening equipment a go. Have fun and put safety first while working on any project!
Recent Posts
Here is reply of high-demand removable wallpapers. The wallpaper industry has changed a lot in recent times, with the launch of removable wallpaper being seen as a blessing for homeowners, renters,...
Brown is an often neglected color when considering interior design but brown decor living room ideas could make your house feel warm, sophisticated, and timeless. More adaptable than any other...