
Greetings and welcome to my blog, where I will be offering all of my expertise and advice on growing bell peppers from seed in a pot. This post will teach you all the information you need to produce tasty bell peppers in a pot, regardless of whether you have a little balcony, a small backyard, or just like container gardening because it’s more convenient.
Benefits of Growing Bell Peppers In Pots
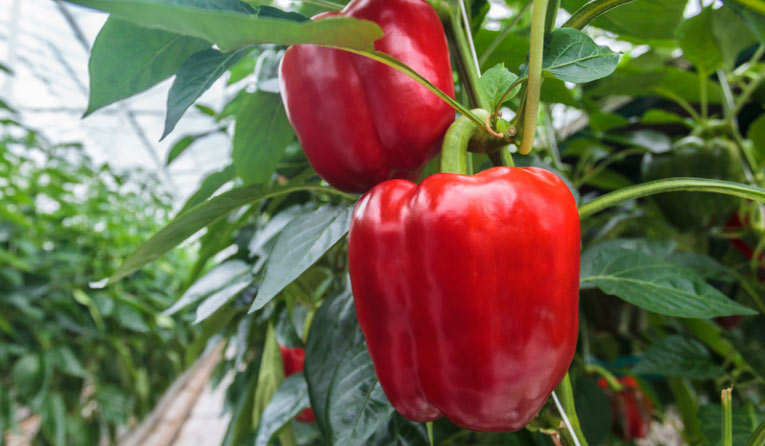
Vegetables that are popular and adaptable, bell peppers may be used in many different recipes. Though typically planted in garden beds, an increasing number of individuals are growing them in pots.
With so many advantages, this approach is a perfect choice for people who are space-constrained or who want greater control over their growing environment. We will go over the benefits of growing bell peppers in a pot.
i). Space Saving
The fact that growing bell peppers in a container saves space is one of its key benefits. Growing a variety of veggies may be difficult in small outdoor spaces.
On the other hand, bell peppers are simple to grow in a pot on a patio, balcony, or tiny garden. Because of this, it’s a great choice for people who live in cities or have little outside area.
ii). Convenience
Convenience is also another important benefit of producing bell peppers in a container. In contrast to conventional garden beds, pots can be positioned next to an accessible area, like your kitchen or back door.
This eliminates the need for you to walk to the garden to have fresh bell peppers available when you need them.
Also Read: How to Grow Buckets Full of Bell Peppers at Home
iii). Control the Growing Environment
The growth circumstances of bell peppers in a pot are entirely within your control. This covers the kind of soil, the quantity of water, and the solar exposure.
With this degree of control, you may cultivate bell peppers in the perfect growth conditions, which will produce peppers that are healthier and more tasty.
For best results, you may make sure your peppers have all the nutrients they need by using a nutrient-rich soil mix and giving them regular watering.
iv). Pest Control
Additionally, greater pest management is made possible by growing in a container. Compared to plants grown in the ground, potted plants are less vulnerable to pests and diseases.
This is due to the pot’s barrier effect, which makes it more difficult for pests to get to the plant. If you see any indications of pests or illnesses, you may also just transfer the pot to a new spot.
Choosing the Right Pot and Soil
Growing bell peppers in a pot is a terrific alternative if you have limited space in your backyard or just like the simplicity of container gardening.
However, it’s crucial to select the proper pot and soil for your plants to guarantee healthy development and a plentiful harvest.
i). Correct Pot Size
The first thing to do when selecting a pot for your bell peppers is to figure out how much room you have and how many plants you want to grow.
Generally speaking, bell peppers need at least 12 inches of room per plant to flourish. This indicates that a container that is at least 12 inches in diameter would be perfect for a single plant.
One large container or many smaller pots will be needed if you intend to cultivate more than one plant.
ii). Pot Types to Take
There are a few things to think about when selecting the pot type for your bell peppers.
Plastic pots are a common option for container gardening since they are portable and lightweight. Additionally, they are available in an array of hues and sizes, so you can discover the ideal match for your room.
Conversely, clay pots have more porosity, which improves drainage and air movement. They may also give your yard a lovely touch.
Self-watering pots are an additional choice to think about. They contain a reservoir integrated into the design that helps to maintain soil moisture and lessens the need for regular watering.
iii). Ideal Soil Mix for Bell Peppers
For your bell peppers to grow and flourish, the soil you employ is essential. A healthy soil mix should have a pH of 6.0–6.8, be nutrient-rich, and drain freely.
Equal parts of potting soil, compost, and perlite or vermiculite can be used to make your soil mix. This will aid in drainage and offer a balance of nutrients.
Garden soil should not be used since it might contain illnesses or bugs that could damage your plants.
iv). Role of Proper Drainage
Long-term exposure to damp soil can cause root rot and other problems in bell peppers, therefore they should not be left in that condition. This is the reason why growing them in a pot requires proper drainage.
Before adding the soil mixture, make sure your pot has drainage holes at the bottom, and add a layer of gravel or tiny rocks. This will guarantee adequate drainage and help keep water from collecting at the pot’s bottom.
Also Read: How To Grow Cucumber In Pots At Home.
How to Choose and Plant Seeds
A satisfying experience that puts fresh, homegrown vegetables at your fingers is growing bell peppers from seed in a container. However, choosing premium bell pepper seeds and beginning them correctly are essential to success.
Tips For Seed Selection
1. Seek respectable seed companies: It’s critical to get seeds from a reliable supplier. Seek out trustworthy seed companies with a solid track record and favorable feedback from other gardeners.
2. Examine the seed packet: It includes important details on the variety, how to sow, and the viability of the seeds. For the highest germination rates, make sure to check the “sell by” date and select seeds that are still inside the current year.
3. Select disease-resistant types: Since bell peppers can become infected with different illnesses, it’s advisable to select disease-resistant kinds to guarantee a good crop.
4. Choose open-pollinated or heirloom seeds: If you wish to conserve seeds for the next plantings, open-pollinated or heirloom seeds are a preferable option. Plants derived from these seeds are faithful to their parent species.
5. Take into account your climate: Bell peppers grow best in warm climates, so pick kinds that will work well there. Choose cultivars with a shorter growth season if you live in a colder climate.
Tips To Head Start on the Growing
You may enjoy fresh peppers earlier by starting your bell pepper seeds inside, which will give them an early start on the growth season. This is how you do it:
1. Gather your materials: For your seeds to germinate, you’ll need potting soil, seed starting trays, and a warm, sunny place.
2. Add potting soil to the trays: Add high-quality potting soil to the trays, being sure to leave around 1 inch of room at the top.
3. Sow the seeds: Plant two to three seeds, ¼ inch deep, in each cell. Place dirt over the seeds and gently push down.
4. Water gently: Water the seeds using a spray bottle or a watering can fitted with a fine rose attachment. Don’t let the soil get too wet.
5. Provide light and warmth: For bell pepper seeds to germinate, light and warmth are necessary. Put the trays somewhere warm, such as next to a heat source or on top of the refrigerator. Move the seeds to a sunny spot or cover them with grow lights after they have sprouted.
Also Read: How To Make Compost for the Kitchen Garden?
Ready to Plant Seeds in a Pot
It’s crucial to get the seeds ready for a successful transfer before placing your bell pepper seedlings in a container. Here’s how to do it:
1. Harden off the seedlings: A week or so before transplanting, place the seedlings outside for a few hours every day to gradually acclimate them to outdoor circumstances. This will assist them in acclimating to the altered surroundings.
2. Transplant into larger pots: The seedlings should be moved into larger containers as soon as they develop their first set of genuine leaves. A good-quality potting mix and enough drainage in the container are essential.
3. Treat the seedlings carefully: When moving them, pick them up by their leaves rather than their stems. This will shield the fragile stem from harm.
4. Water thoroughly: Give the seedlings plenty of water after transplanting to aid in their adjustment to their new surroundings.
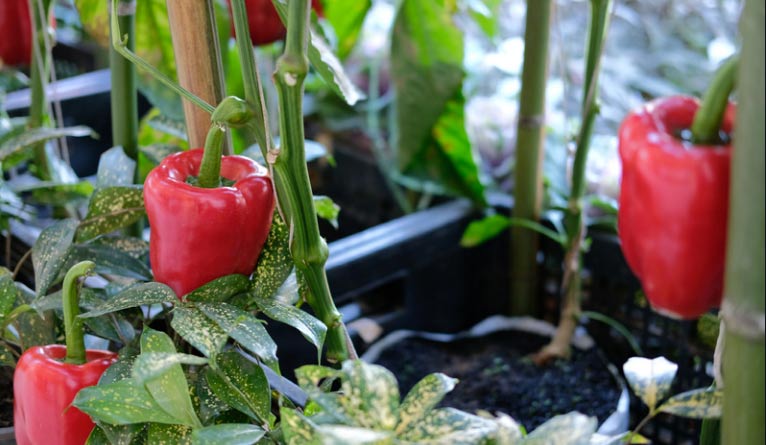
Taking Care of Bell Pepper Seedlings
Bell peppers are a well-liked and adaptable vegetable that may enhance the taste and nutritional value of any meal. If you have limited room or want greater control over the growth conditions, planting your bell peppers in a pot is a terrific choice.
i). Distance Between Pots
Ensuring adequate spacing between bell pepper seedlings in a container is essential for their healthy growth and development. Generally speaking, you want to give each seedling around 12 inches of room.
This will provide the plants ample space to develop and extend their roots without having to compete with one another for nutrition.
ii). Watering Techniques
For bell peppers to flourish, they need constant moisture, but it’s crucial to avoid overwatering them. Checking the soil moisture often is the best approach to guarantee appropriate irrigation.
It’s time to water if you insert your finger approximately an inch into the soil it feels dry. Watering should be done so that the soil is evenly saturated; do not soak the leaves as this might cause illness.
iii). Kinds of Fertilizers to Apply
Regular fertilization is necessary for bell pepper seedlings to ensure good growth and a plentiful crop. For bell peppers, the best fertilizer is one that has equal parts nitrogen, phosphorus, and potassium.
Compost or manure are examples of organic fertilizers that you may use to provide your plants with the vital nutrients they need. During the growing season, fertilize every two weeks; however, excessive fertilization might result in stunted growth.
Also Read: 20 Plants That Keep Bugs Out of Your Home
How to Plant Potted Bell Pepper Seedlings
Fill the container with a well-draining potting mix, allowing approximately an inch of room at the top, and plant your bell pepper seedlings. Using your finger to create a hole in the ground, carefully plant the seedling, making sure that the top of the root ball is level with the ground.
After adding dirt to the hole, carefully press down on the ground at the plant’s base. After planting, give the soil a good irrigation to help it settle.
i). Bell Pepper Seedling Care
When taking care of your bell pepper seedlings, there are a few more considerations in addition to giving them the right amount of water and fertilizer. Pruning is necessary to avoid overpopulation and encourage healthy growth.
Any dead or damaged leaves should be pinched off, and any suckers growing between the main stem and branches should be removed. To avoid causing harm to your plants, keep an eye out for pests and diseases and take immediate action when necessary.
ii). Care and Troubleshooting
While growing bell peppers in a pot may be a fulfilling experience, it also involves some upkeep to guarantee robust and fruitful plants. The essential upkeep for growing bell peppers in a pot, including trimming, controlling pests, and resolving frequent problems, will be covered in this chapter.
iii). Bell Pepper Pruning
A crucial part of caring for bell pepper plants in a container is pruning. It inhibits overcrowding, which can lower fruit output, and aids in promoting growth. Improved air circulation and sunshine penetration are also made possible by pruning, and these factors are essential to the plant’s general health.
First things first, trim off any dead or damaged leaves and branches from your bell pepper plant. Next, remove any branches that are pressing against or crossing one another. By doing this, the plant won’t waste energy on branches that compete with it.
To encourage the plant to grow bushier and provide more fruit, you may also trim off some of the top of the plant. Just trim a few inches from the top of the main stem, somewhat above a leaf set.
This will encourage the development of fresh side branches, making the plant fuller and more fruitful.
Also Read: 10 Suitable Vegetables For Your Kitchen Garden.
Controlling Pests in Bell Peppers
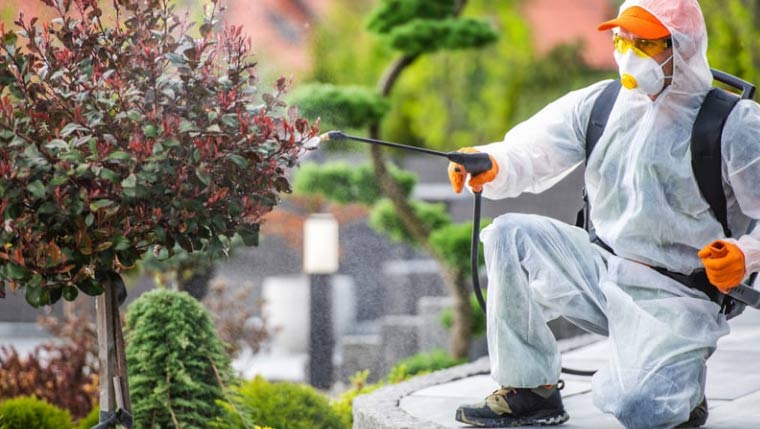
Pests and diseases may affect bell peppers just like they would any other plant. Aphids, spider mites, and whiteflies are a few typical pests that can harm bell peppers grown in pots. These pests have the potential to harm the plant’s leaves and fruits, which would inhibit growth and lower output.
Examine your plants frequently for indications of pest infestation to manage pests. Use natural solutions like neem oil or insecticidal soap if you see any bugs. These don’t harm the environment or the plant.
As they prey on common pests, beneficial insects like ladybugs can also be added to your garden.
Addressing Common Issues
Growers of bell peppers may face two typical problems: yellowing foliage and poor fruit output. Numerous things, such as pests, overwatering, or nutritional deficits, might result in yellowing leaves.
To solve this problem, make sure your plant receives adequate water and sunlight. You should also think about applying a balanced fertilizer to make up for any nutrients that are being lost.
It may be a sign of inadequate pollination if your bell pepper plant is not bearing fruit. Because bell peppers are self-pollinating, they don’t need insects to be pollinated.
To aid in pollination, you might try gently shaking the plant if you detect a shortage of fruit. Moreover, you may manually pollinate flowers by transferring pollen between them with a little paintbrush.
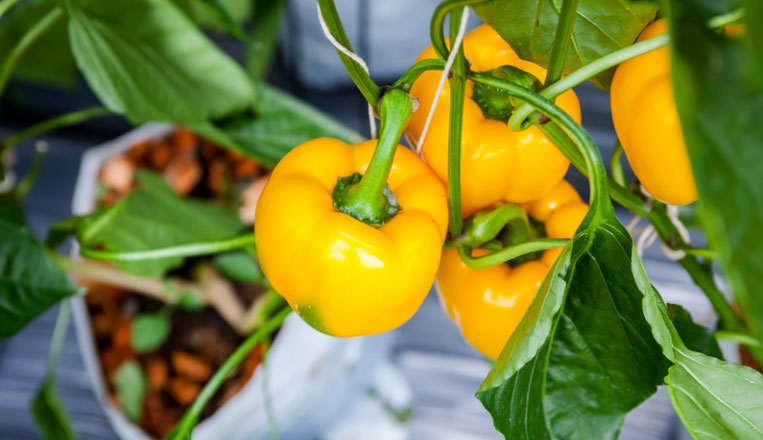
Harvesting and Use of Bell Peppers
Congratulations! Your bell peppers are now ready to be picked after growing. It’s a fulfilling experience to harvest bell peppers from a pot, but for optimal flavor and texture, it’s crucial to know when and how to do it.
i). When to Harvest Peppers to Get the Best Texture and Flavor
Waiting until bell peppers are completely mature is the key to collecting them. In addition to guaranteeing the optimum flavor and texture, this will stimulate the plant to bear more peppers. Thus
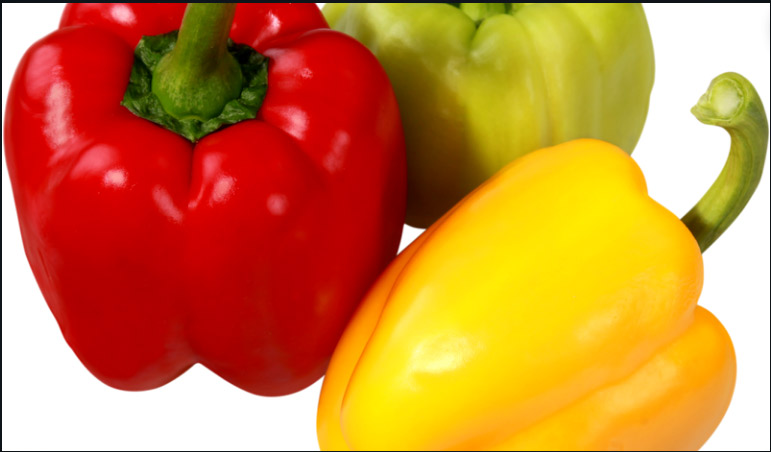
First, look at the color of the pepper. Green bell peppers are not fully ripe and can be harvested, but they will have a milder flavor. If you prefer sweeter and more flavorful peppers, wait until they turn red, orange, or yellow.
These colors indicate that the pepper has reached its full maturity and will have a sweeter taste.
Another way to determine if your bell peppers are ready to be harvested is by gently squeezing them. Ripe bell peppers will feel firm and have a slight give when pressed. If they are still hard, they need more time to mature.
It’s important to note that bell peppers will continue to ripen after being picked, so if you prefer a slightly firmer texture, you can harvest them a few days earlier.
Also Read: 15 Best Vegetables to Grow for Survival
ii). How to Utilize and Store Extra Bell Peppers
Don’t worry if you have an abundance of bell peppers that won’t go to waste. Bell peppers may be used and preserved in a variety of delectable ways.
Bell peppers may be used in salads, stir-fries, or omelets as a straightforward approach. They are also a fantastic garnish for wraps and sandwiches. Stuff them with a variety of rice, veggies, and protein for a heartier dinner.
If you have too many bell peppers, you might choose to use them for later use. They may be used to create homemade salsa or chutney, pickled, or roasted and frozen. You may use these preserved peppers all year long in a variety of ways.
iii). Bell pepper storage and freezing guidelines for later use
Bell peppers should be refrigerated after being wrapped in a plastic bag. Although they may be stored for up to a week, it’s recommended to utilize them right away to ensure maximum freshness.
It is crucial to blanch bell peppers before freezing them. This entails short-boiling the peppers and stopping the cooking process right away by plunging them into an ice bath. After blanching, you may store them in freezer bags or sealed containers for up to six months.
Conclusion
One easy and space-saving option to enjoy fresh, local vegetables is to plant bell peppers in a container. To ensure healthy development, the ideal pot size, kind, and soil mix must be chosen.
Premium seeds must also be chosen, and proper maintenance must be provided. The benefits of a plentiful yield outweigh difficulties like insect management.
It’s crucial to choose the correct peppers at the right time and experiment with various applications and preservation techniques.
Recent Posts
Here is reply of high-demand removable wallpapers. The wallpaper industry has changed a lot in recent times, with the launch of removable wallpaper being seen as a blessing for homeowners, renters,...
Brown is an often neglected color when considering interior design but brown decor living room ideas could make your house feel warm, sophisticated, and timeless. More adaptable than any other...